A counter-depth fridge that sits flush, not proud of your cabinets
Most fridge headaches come down to four things: surround depth, door-swing clearance, the water line, and a unit that stands out past the cabinet faces. We set the water line, level and anti-tip the unit, hang the overlay panel, and fit the surround so the front sits where it should.
- Cavity measured against the manufacturer opening spec
- Water line run with a real shutoff, not a saddle valve
- Anti-tip secured and the unit checked level both ways
A refrigerator is heavy, deep, and unforgiving about the opening it goes into. Built-ins and integrated columns are spec'd to the eighth of an inch, panel-ready doors need a flat overlay hung dead-plumb, and almost all of them want a water line for ice and a dispenser. The most common surprise on delivery day is depth: a counter-depth or built-in unit that ends up standing an inch or more past the cabinet faces because the surround was framed too shallow, or a door that can't swing past the wall return next to it. We handle the install and the cabinet work together: measure the cavity against the spec with a tape and story stick, fix what fights the fit, and set the front flush with the surrounding cabinets.
The problems we actually solve
The cavity is the wrong size
A built-in column wants its opening within a tight tolerance for width, depth, and height. We measure against the spec sheet first and build out or open up the surround so the unit slides in without racking.
No water line — or a bad one
Ice makers and dispensers need a shutoff and a clean run behind the unit. We add or relocate the line and avoid the saddle valves that drip a year later.
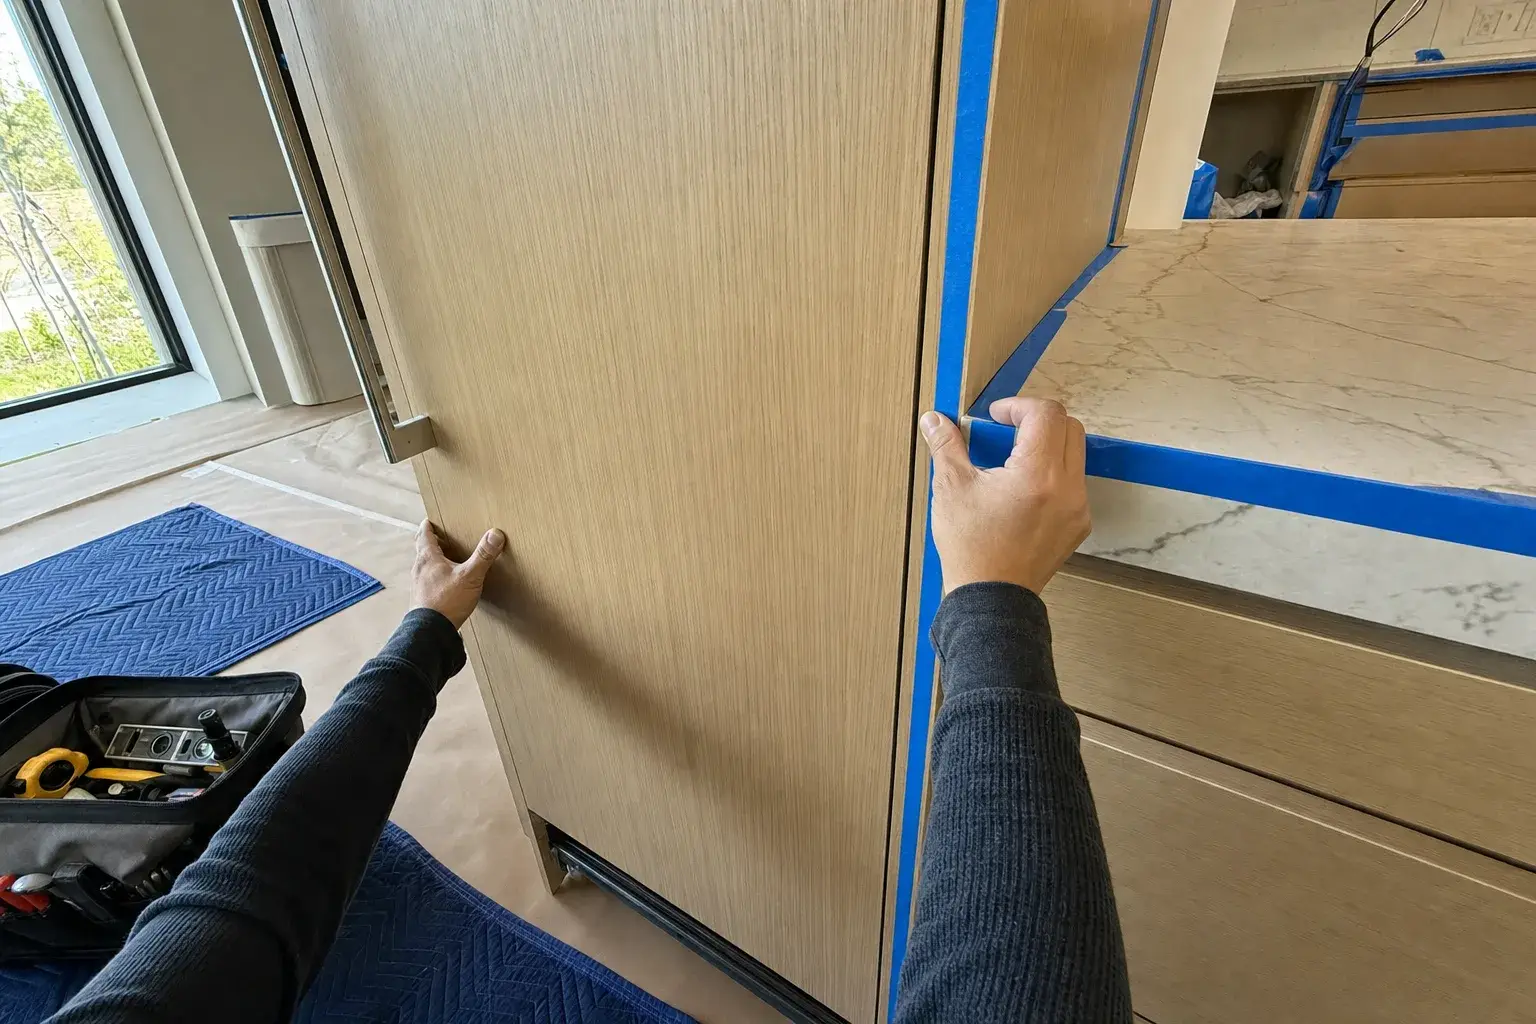
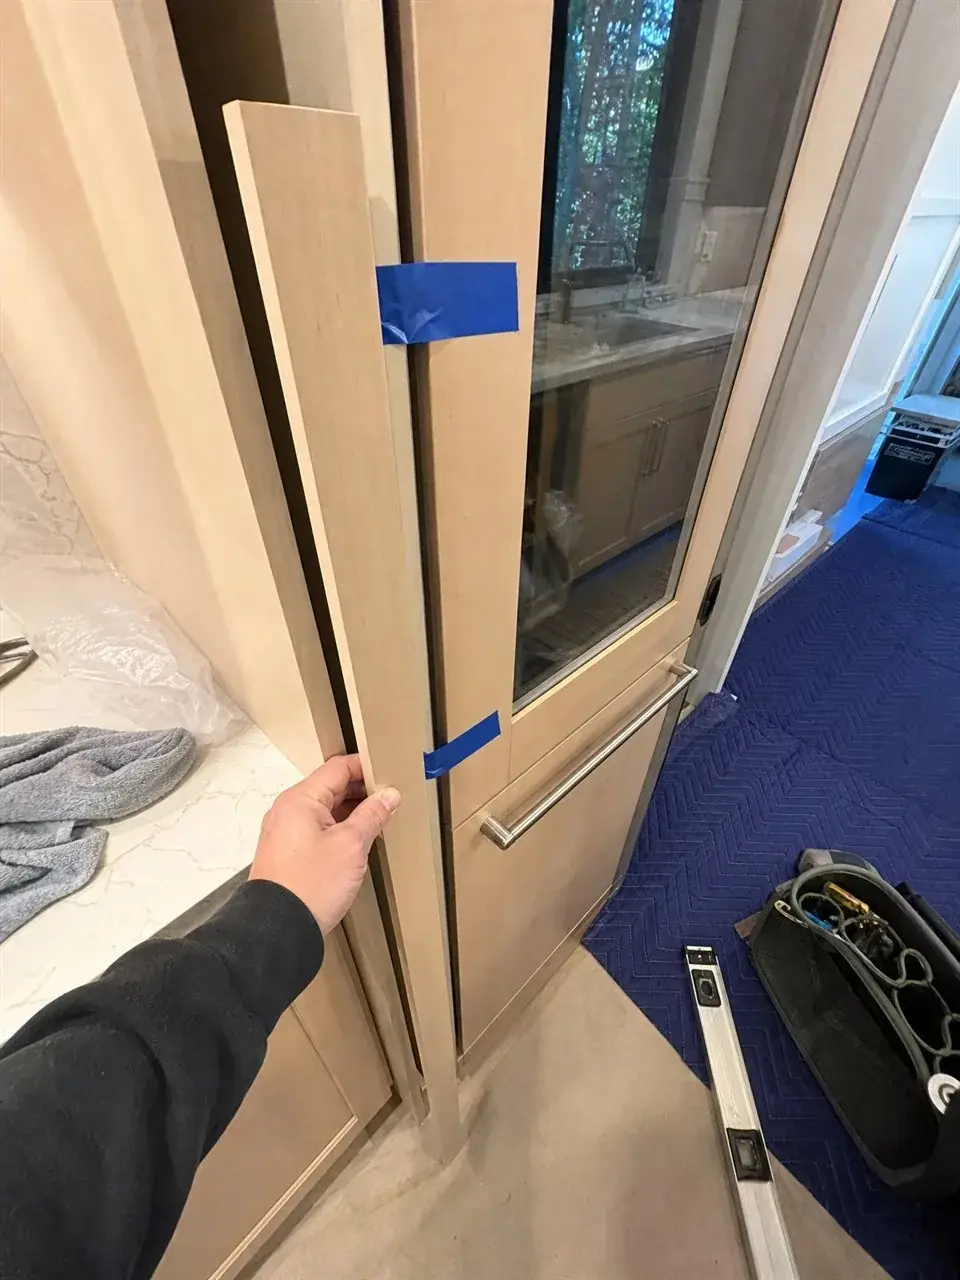
The panel and reveals look off
A panel-ready door that sits proud, racked, or with an uneven gap is the first thing anyone notices. We hang the overlay plumb and set the reveals to match the gaps on the cabinet doors beside it.
Refrigerator Installation, done properly
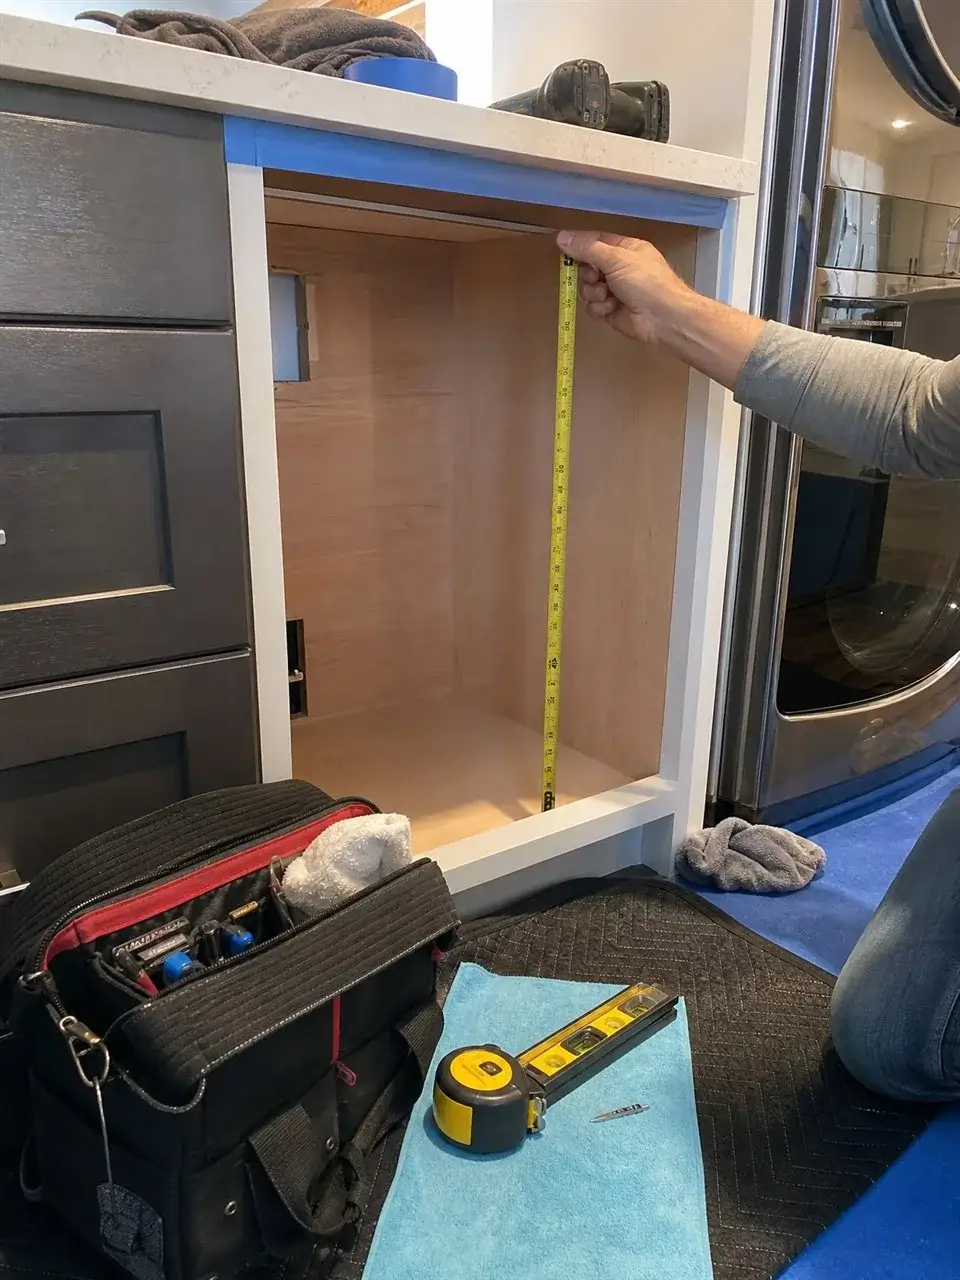
Check the cavity against spec
Width, depth, and height measured against the manufacturer's opening dimensions, plus the floor checked for level, before the unit ever comes off the dolly.
Set the water line
A proper shutoff and supply run for the ice maker and dispenser, connected, pressure-checked, and run long enough to roll the unit out for service.
Level, set & anti-tip
Leveling legs and rollers dialed in, the cabinet secured with the anti-tip bracket where required, and the unit pushed back to a consistent face.
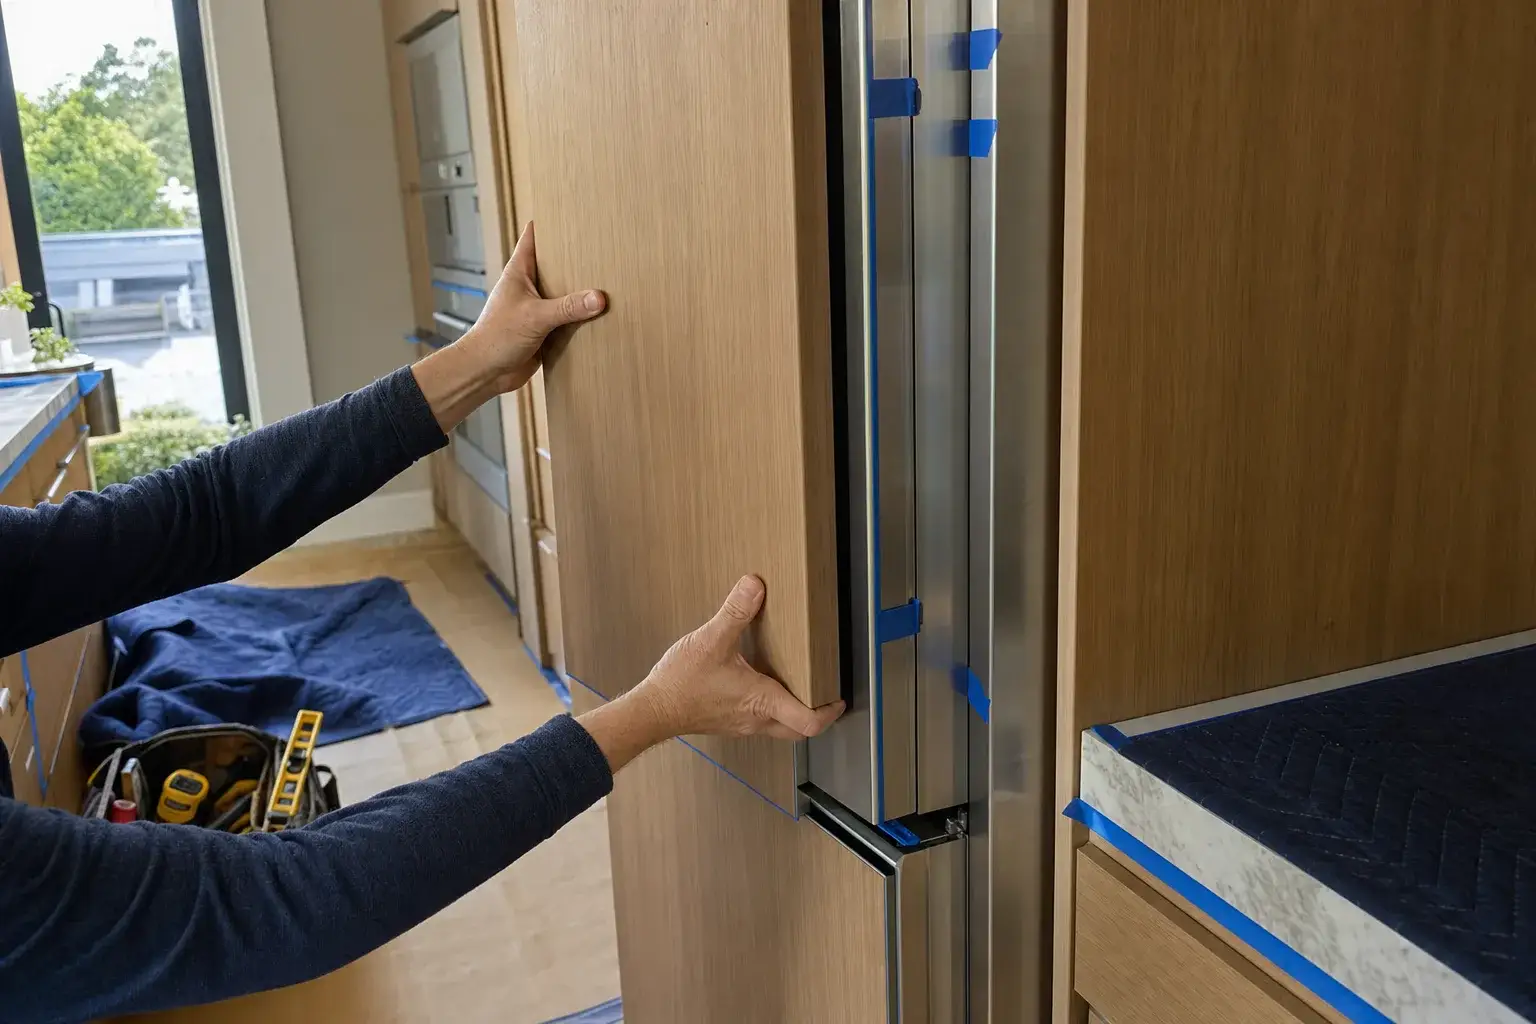
Hang the overlay panel & grille
Custom wood or stainless overlay panels and the top grille mounted to the door, weighed and balanced so the door swings true and the reveals stay even top to bottom.
Modify the surround to fit
Widening a tight cavity, building out a shallow surround, adding fillers, or trimming a stile so a counter-depth or built-in unit sits flush instead of standing proud.
Door swing & clearance check
Hinge side, door and drawer travel, and crisper clearance verified against the adjacent wall or cabinet so nothing binds once the unit is loaded.
What we account for
-
Built-in vs. counter-depth vs. integrated
Each sits to a different depth and reveal. A true built-in flushes to the cabinet face, counter-depth aligns to the counter edge, and an integrated column disappears behind full overlay panels — each one changes how the surround has to be built.
-
Water, power & airflow
The unit needs a dedicated outlet within reach, a water shutoff if it makes ice, and the airflow path the grille requires. Block the vent and a built-in compressor runs hot and short.
-
Floor and structure carry the load
A loaded built-in is heavy, so the floor has to be flat and the surround has to carry the anti-tip and any panel weight. We confirm both before committing the unit to the opening.
Flush depth and a clean surround
The failure that ruins a counter-depth or built-in fridge is depth: the unit lands an inch or two proud of the cabinets, the door clears the wall by a hair, and the surround reveals run uneven. Fixing that means measuring the cavity against the spec, building out or furring a shallow surround, planing a tight stile, and checking door swing before the unit goes in. Because we set the appliance and modify the cabinet in one crew, we can shim the unit, hold the front to the cabinet faces with a level and feeler gauge, and tune the panel reveals all on the same visit.
See how cabinet modification worksFrom measurement to a clean, level fit
- 01
Assess & measure
We start with the appliance spec sheet and the opening it has to live in — width, depth, height, the face frame, utilities, and the cabinet around it. Most fit problems are decided here, before a single tool comes out.
- 02
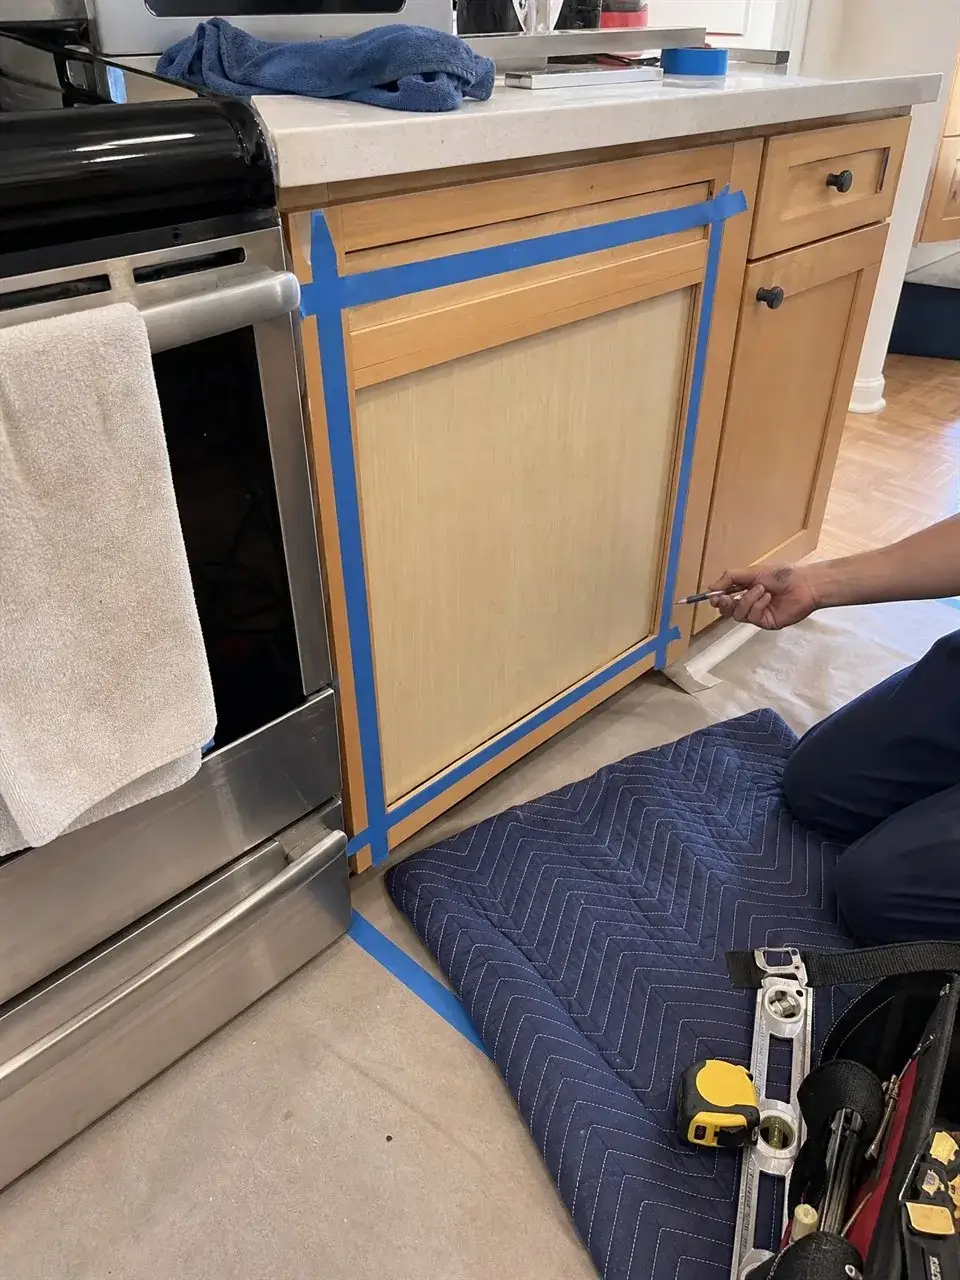
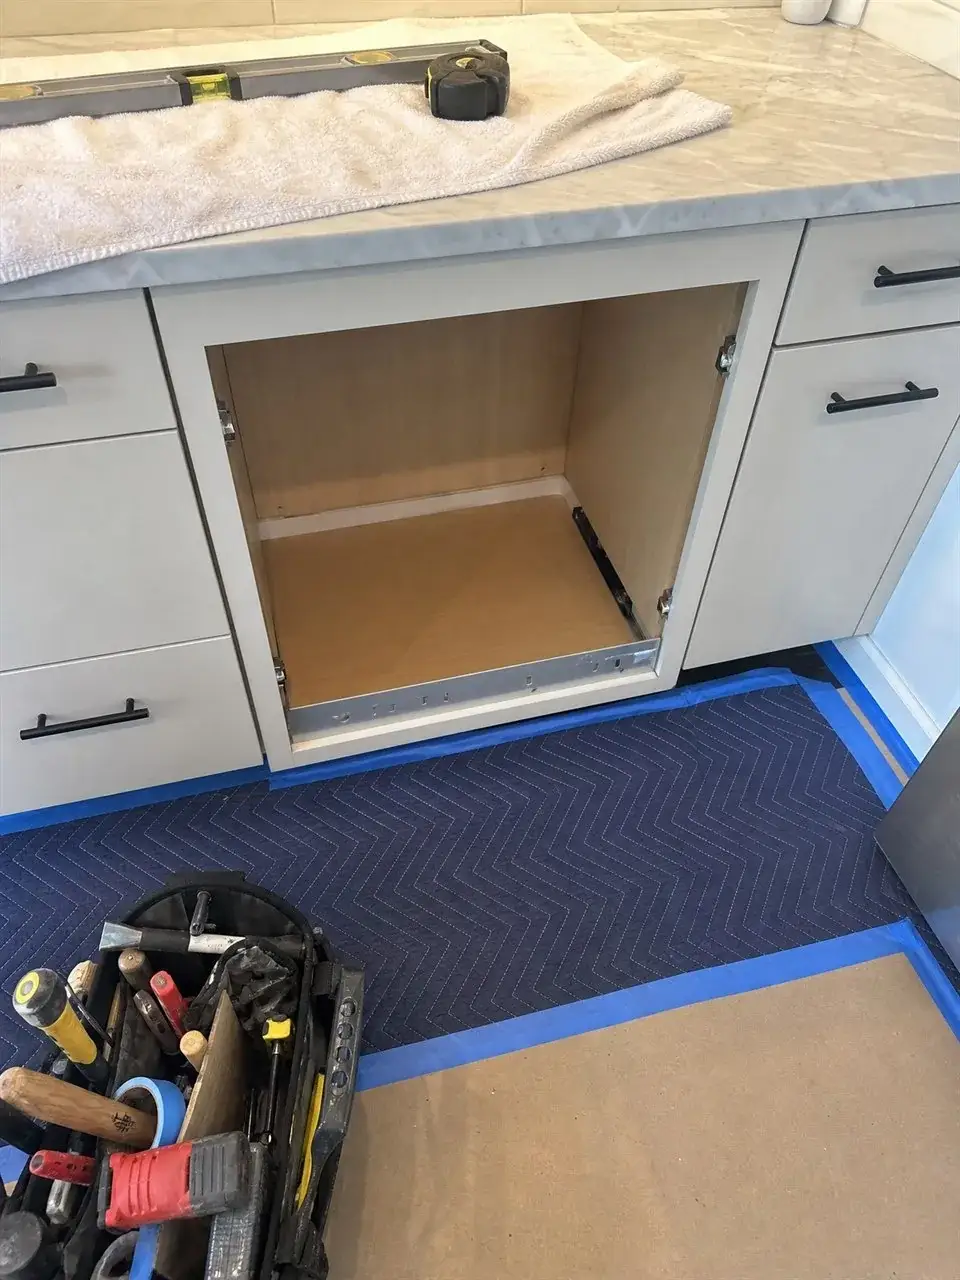
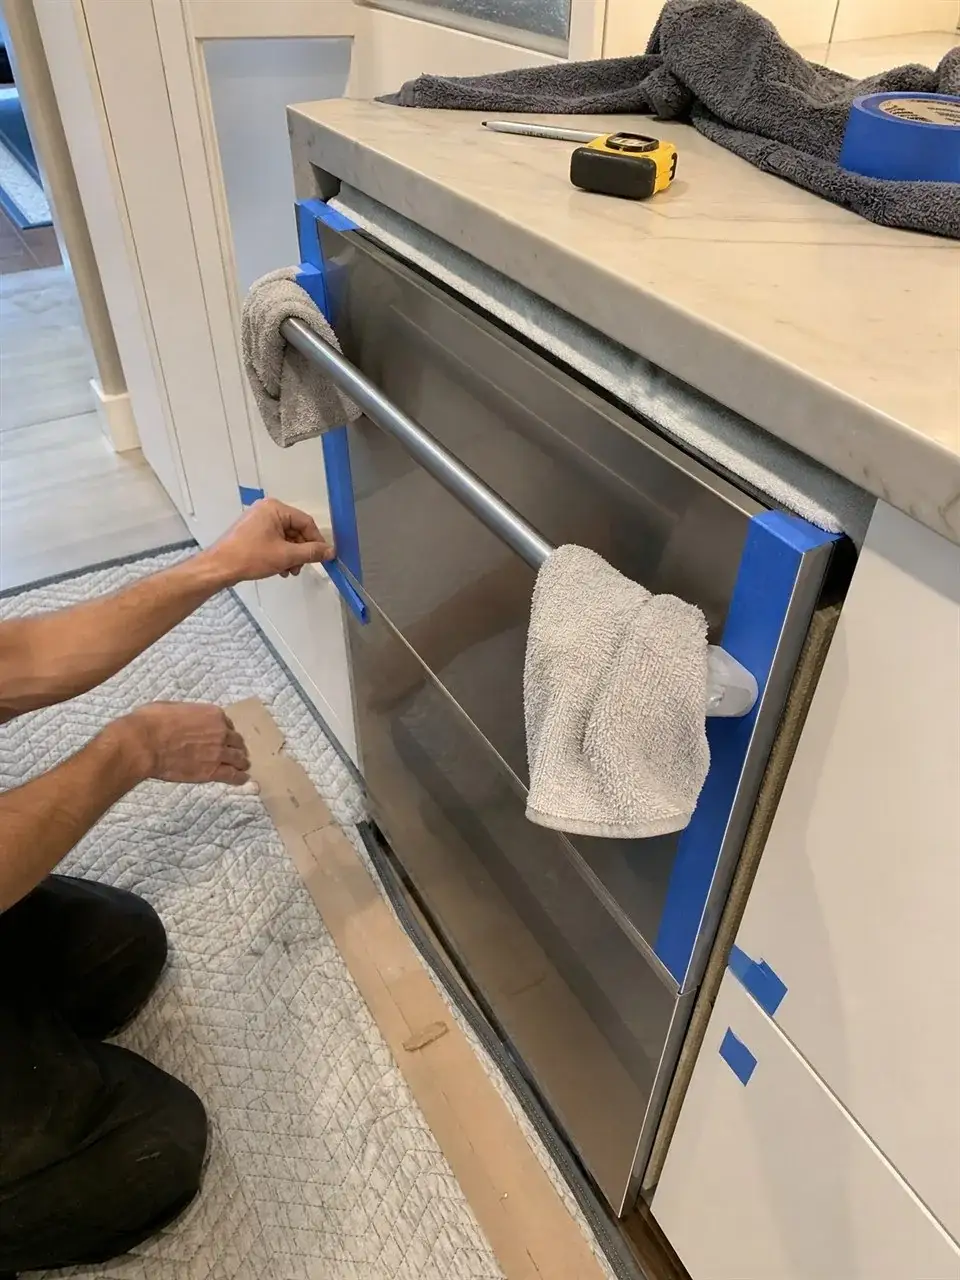
Protect the kitchen
Floors, countertops, and finished cabinet faces get covered, padded, and taped off first. Blue tape on the edges, moving blankets and ram board on the floor, and a vacuum staged for dust control.
- 03
Install & fit the cabinet
We set the appliance — and when it does not drop in clean, we modify the cabinet to make it: resizing the opening, building a support platform, adding filler strips, or aligning panels and trim for an even reveal.
- 04
Level, test & clean
The appliance is leveled, secured, and anti-tip hardware set where it belongs. We test operation, check every reveal and gap, then vacuum and wipe down so the kitchen is ready to use.
What this work looks like in the field
Measuring, protection, and the cabinet detail that makes the fit clean — photographed on real jobs.
Brands we install and fit
- Sub-Zero
- Thermador
- Miele
- Fisher & Paykel
- JennAir
- Bosch
What refrigerator installation typically costs
A flat $89 service call covers coming out and assessing the job against your appliance spec. Project pricing starts from the figures shown and is confirmed on site — cabinet work has a lot of variables, so we quote it exactly once we see the space.
Refrigerator Installation: common questions
My new built-in fridge is a little wider than the old opening — can you make it fit?
Usually, yes. Most cavities can be widened, deepened, or built out within reason, and we measure against the unit's spec first to confirm what the opening needs. Because the same crew does the carpentry and the install, we can open the surround and set the unit flush in one trip.
Can you add a water line for the ice maker and dispenser?
Yes. We run or relocate a supply line to a proper shutoff, connect it, and pressure-check the joint, with enough slack to roll the unit out for service. We avoid the self-piercing saddle valves that tend to leak down the road.
Do you install the custom overlay panels on panel-ready and integrated refrigerators?
We do. We mount the wood or stainless overlay panels and grille, balance the door so it swings true, and match the reveal gaps to the cabinet doors on either side so the front lines up instead of standing out.
Why does a built-in need to be level and anti-tipped?
Level keeps the doors self-closing and the reveals even, and a tall, top-heavy unit can tip when the doors are loaded or a child pulls on them. We dial in the leveling legs both directions and secure the anti-tip bracket where the unit calls for it.
Should I have you out before the refrigerator is delivered?
It helps. Call us to have someone measure the surround depth, the water and power, and the door-swing clearance against the model you're weighing, and we can tell you up front whether the unit will sit flush or whether the surround needs work before delivery day.
Often part of the same job
Panel-Ready & Built-In
Integrated and panel-ready appliances live or die by their reveals — we hang the overlay panels, set the unit, and adjust the cabinetry so every gap stays tight and even.
Learn more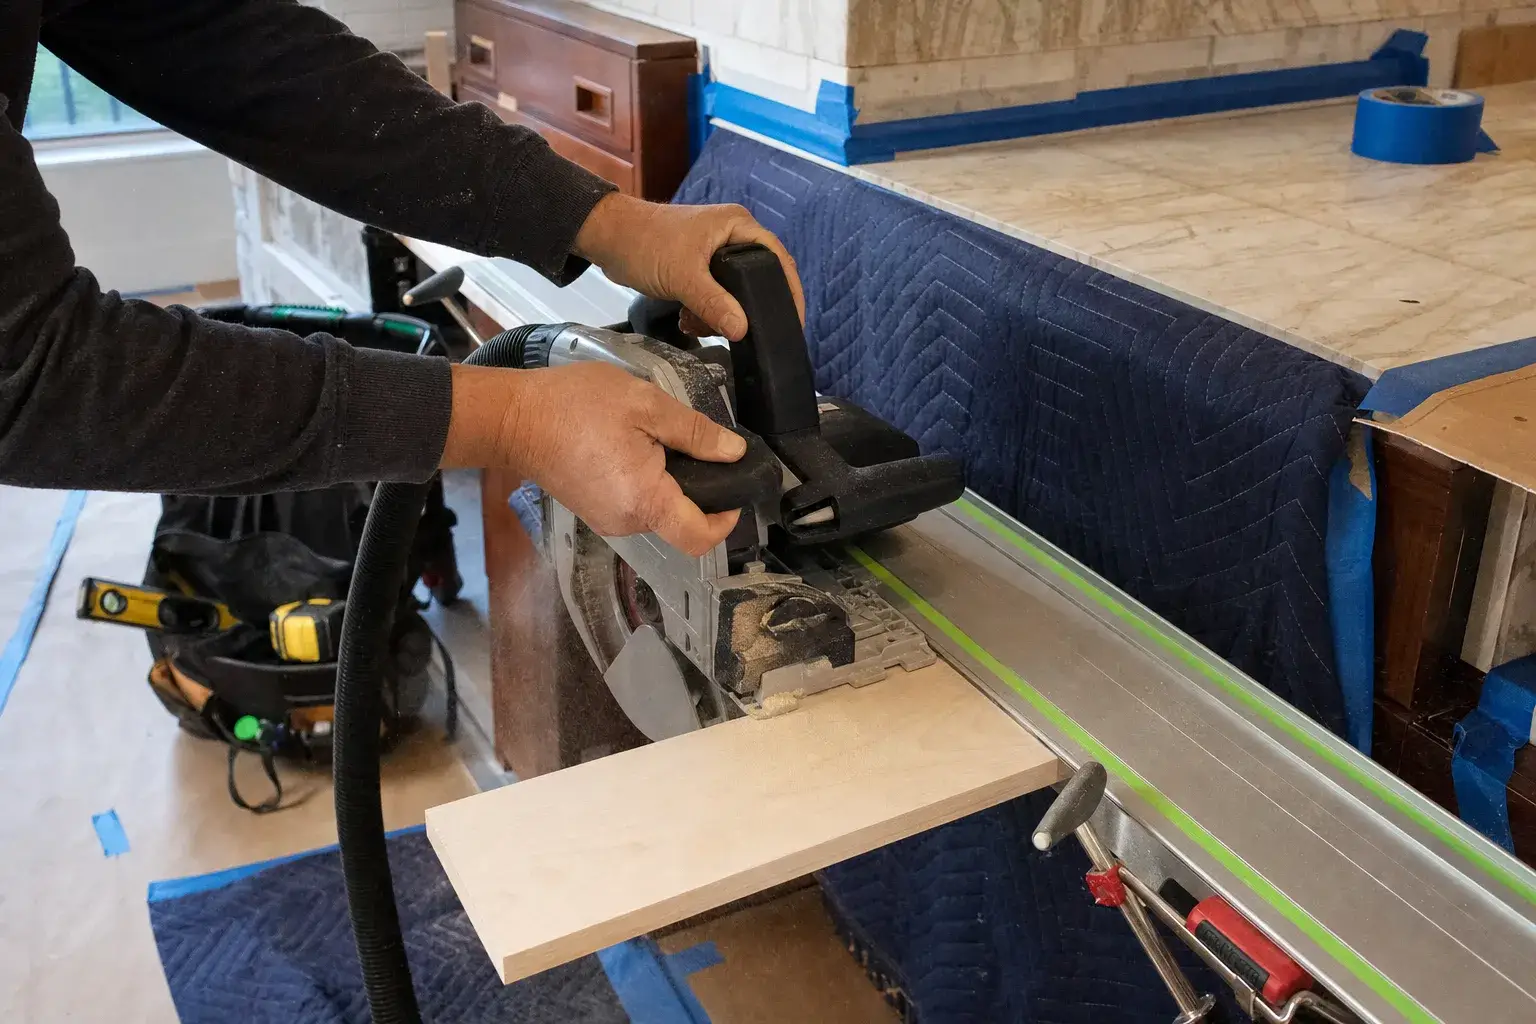
Cabinet Modification
When an opening is a half-inch too tight or a face frame is in the way, we modify the cabinet so the appliance fits — square, level, and damage-free.
Learn more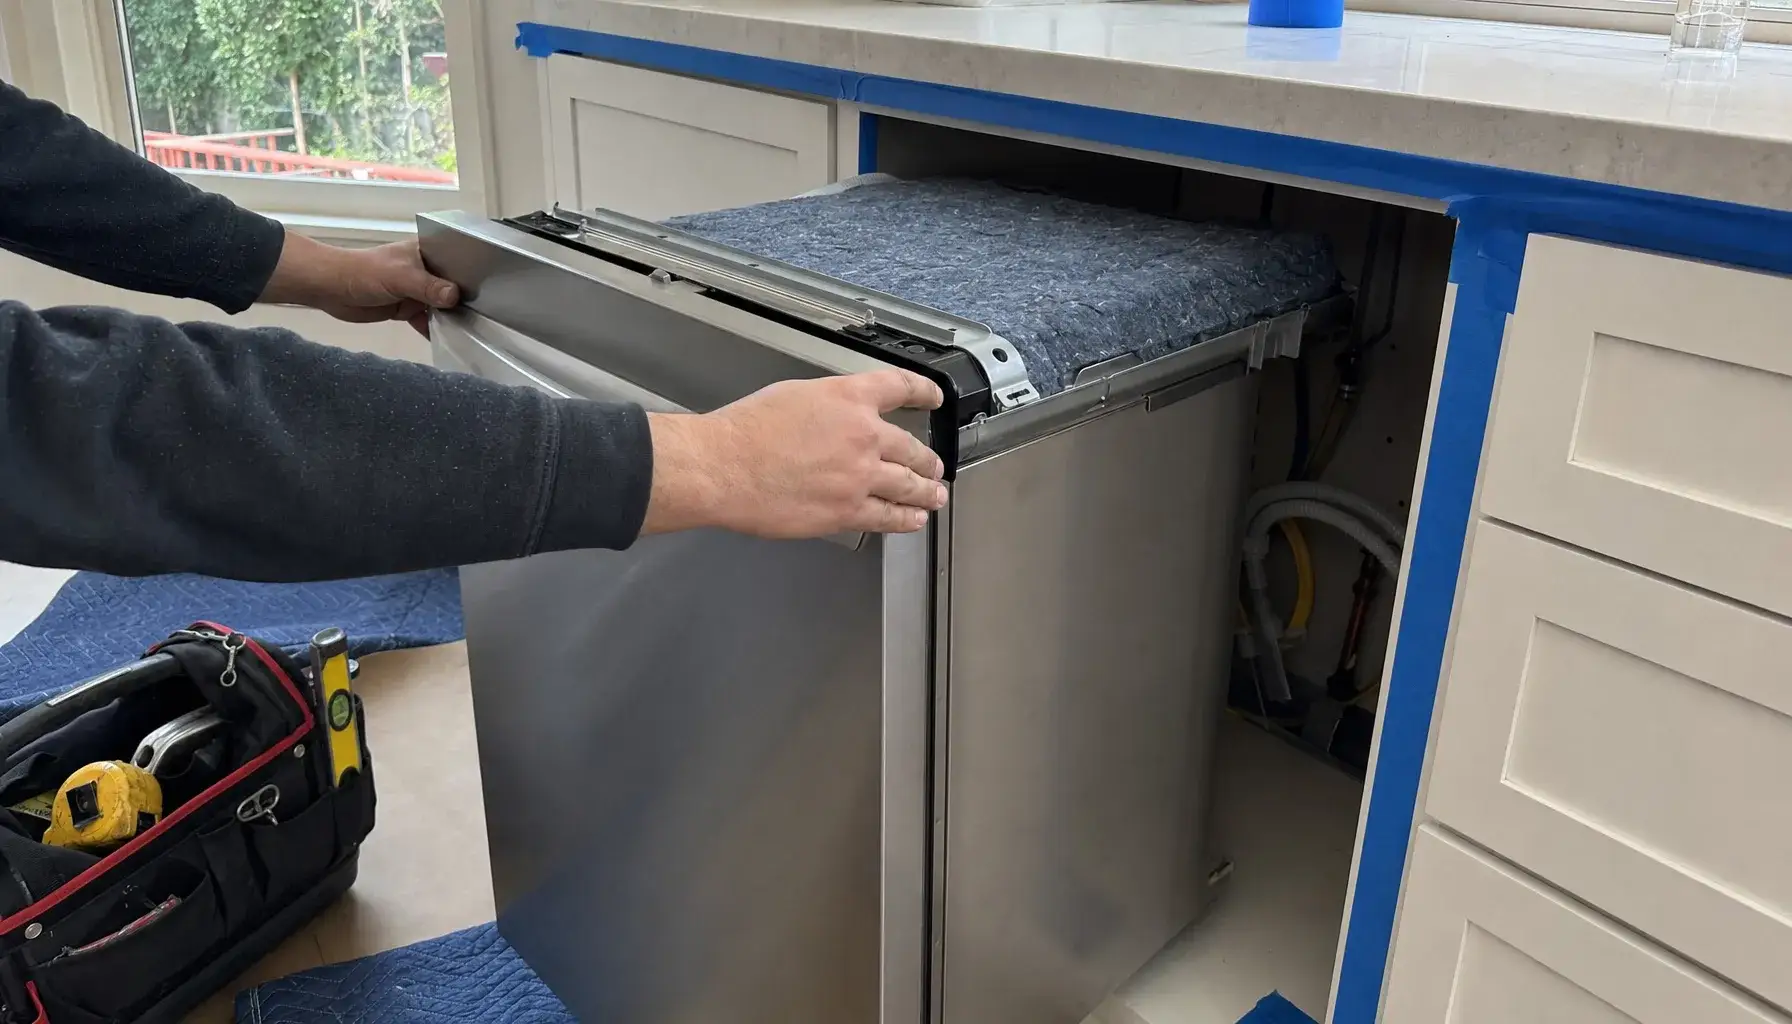
Dishwasher Installation
A dishwasher that's level, leak-checked, and secured to the counter — and if the bay is too wide or too tight, we close the gap or trim it on the same visit.
Learn moreRefrigerator Installation — what homeowners say
Finally got my LG refrigerator installed after waiting on another company for 2 weeks. These guys came out the next morning. Hooked up the water line for the ice maker, cleaned up after themselves. 5 stars.
I'd bought a floor model fridge and needed it installed same week. They fit me in, brought the right water line kit, and even helped move my old unit to the garage. 10/10.
They installed my new washer and hauled the old one away. I didn't even ask — they just offered. Saved me so much hassle. Definitely calling them again for my dryer.
Third time using this service and they never disappoint. Most recently had a wine cooler installed under the counter. Clean, quiet, exactly where I wanted it.
Refrigerator water line install was done carefully — no leaks even after a week. They also checked my ice maker settings and showed me how to use the filter reset. Great service.
Installed a new trash compactor and wine fridge the same day my contractor said it would take a week. These guys are fast without cutting corners.
Get your appliance opening checked before delivery day
Send the appliance specs and a couple of photos of the space. We confirm the fit, flag any cabinet work, and give you a clear plan — no guesswork on install day.