A measured path from spec sheet to clean fit
No improvising on install day. We decide the fit on paper first, protect everything, then do the install and any cabinet work as one job.
The same path on every job
Whether it's a dishwasher swap or an integrated built-in column, the sequence doesn't change — only the amount of carpentry in the middle.
- 01
Assess & measure
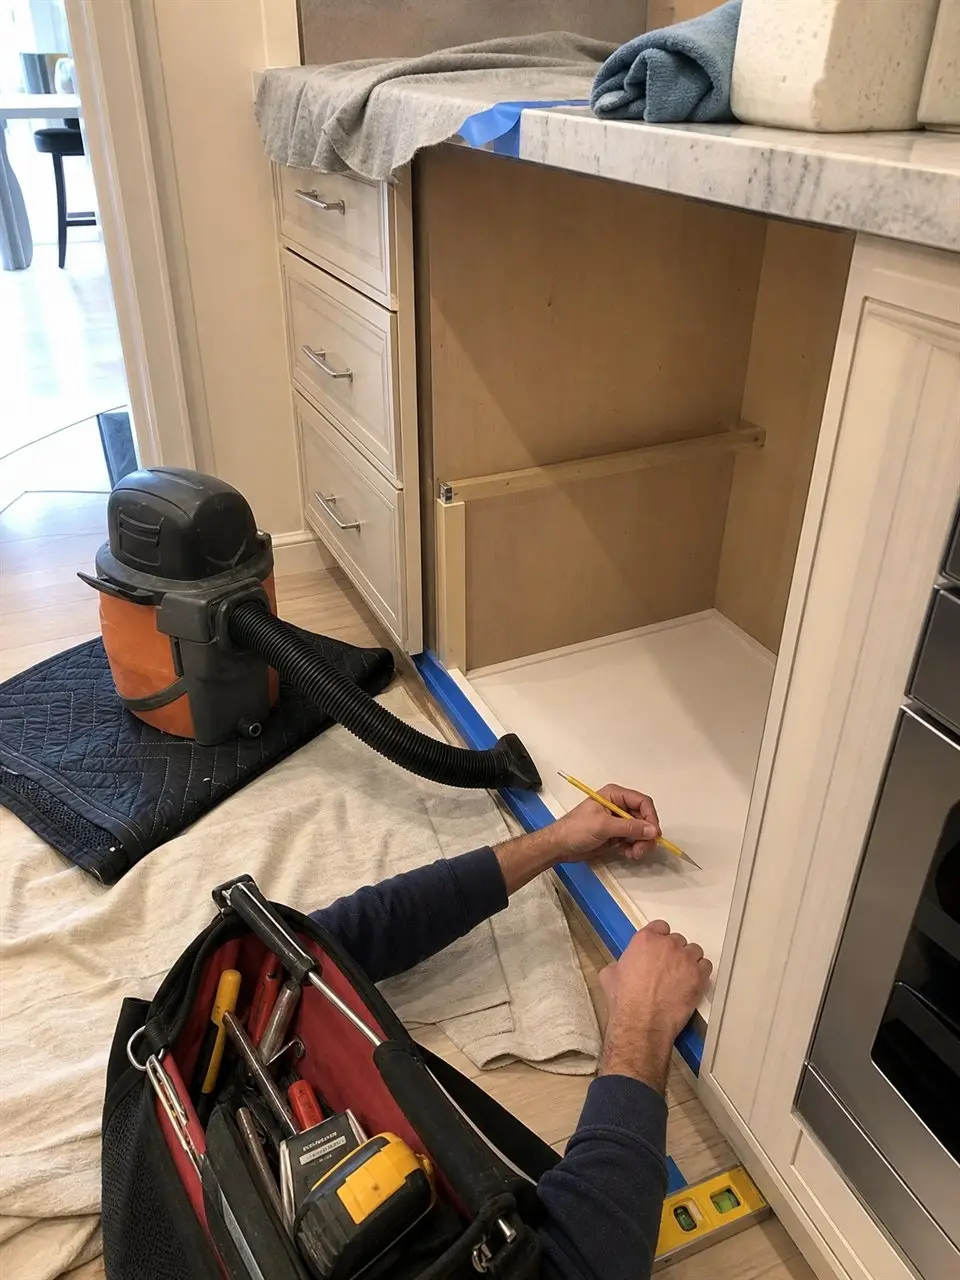
We start with the appliance spec sheet and the opening it has to live in — width, depth, height, the face frame, utilities, and the cabinet around it. Most fit problems are decided here, before a single tool comes out.
- 02
Protect the kitchen
Floors, countertops, and finished cabinet faces get covered, padded, and taped off first. Blue tape on the edges, moving blankets and ram board on the floor, and a vacuum staged for dust control.
- 03
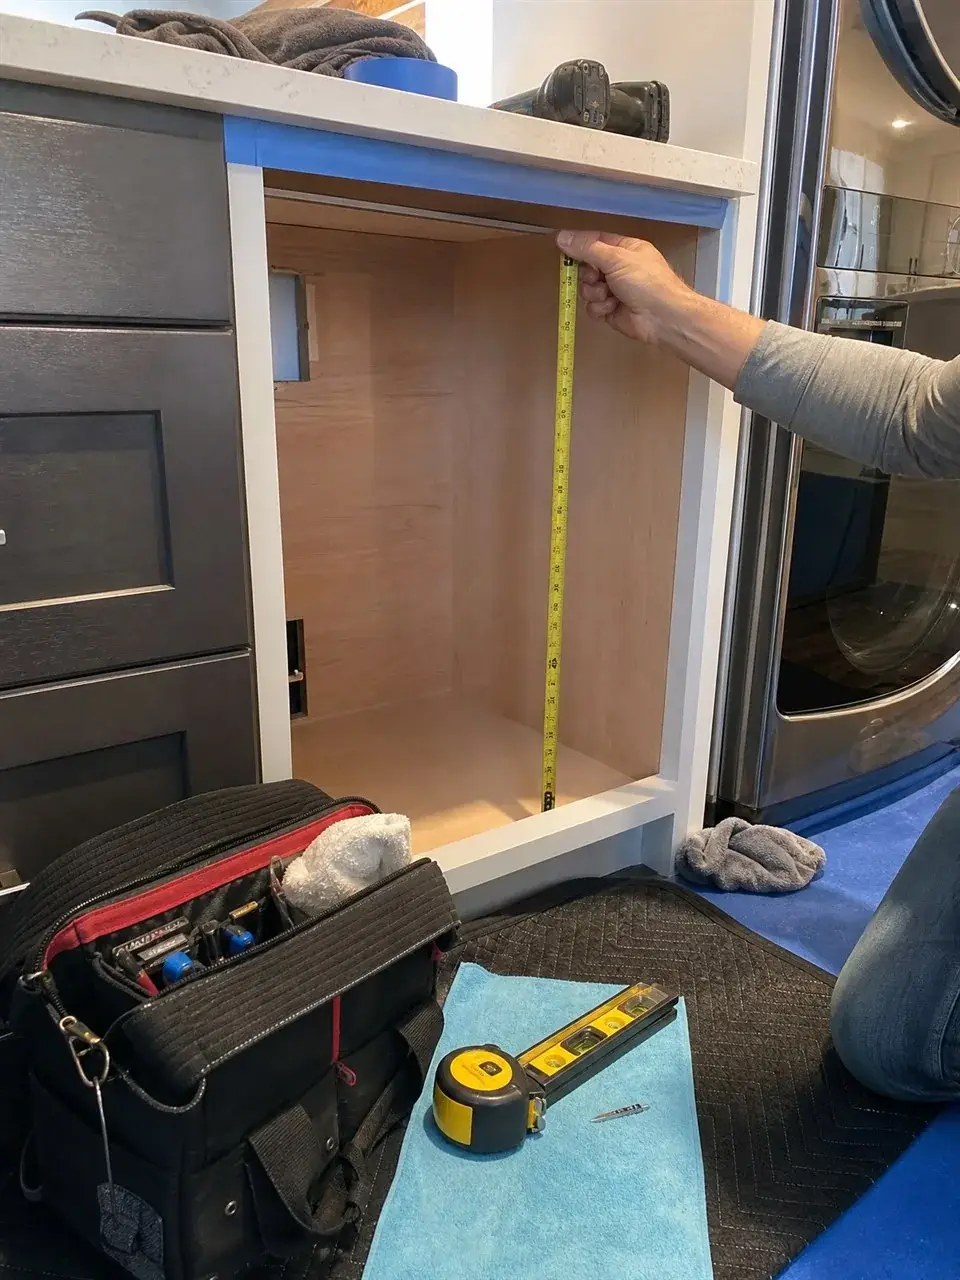
Install & fit the cabinet
We set the appliance — and when it does not drop in clean, we modify the cabinet to make it: resizing the opening, building a support platform, adding filler strips, or aligning panels and trim for an even reveal.
- 04
Level, test & clean
The appliance is leveled, secured, and anti-tip hardware set where it belongs. We test operation, check every reveal and gap, then vacuum and wipe down so the kitchen is ready to use.
What we check before anything is cut
Most fit problems are solved — or created — at the measuring stage. Here's what we verify against the appliance spec before a single tool comes out.
- Manufacturer rough-opening width, height, and depth vs. the actual cavity
- Whether the floor and opening are level and square
- Face-frame lips, center stiles, and fixed shelves in the way
- Power, water, drain, and gas location and type
- Counter overhang and door-swing clearances
- Reveal and panel alignment for panel-ready and built-in units
Your kitchen is finished — we treat it that way
Most of our work happens around finished cabinetry, stone counters, and new floors. Protecting them isn't an extra; it's step one of the actual work.
Floors first
Moving blankets and ram board over the path and work zone before tools come in.
Edges taped
Blue painter tape on cabinet faces, stiles, and stone edges that sit near the work.
Dust controlled
A vacuum staged at the cut so sawdust is captured instead of spread through the kitchen.
Cleaned up
Vacuumed, wiped down, and packaging hauled so the space is ready to use when we leave.
When the appliance doesn't drop in clean
This is the step other crews can't do. Instead of stopping, we modify the cabinet — resize the opening, build a support platform, add a filler, or align a panel — and keep the same job moving to a finished, level install.
See cabinet modificationGet your appliance opening checked before delivery day
Send the appliance specs and a couple of photos of the space. We confirm the fit, flag any cabinet work, and give you a clear plan — no guesswork on install day.