How to Measure a Cabinet Opening Before You Buy an Appliance
The five-minute measurement that prevents the most expensive appliance mistake — buying a unit that won't fit the opening you have.
The single most expensive appliance mistake isn’t choosing the wrong brand — it’s buying a unit that won’t fit the opening you already have. A delivery crew sets the box on the floor, the appliance is a half-inch too wide, and now you’re stuck: restock the unit, reschedule install, or call someone to modify the cabinet under pressure. Five minutes of measuring up front prevents all of it.
Here’s how to measure a cabinet opening properly — including the details spec sheets quietly assume.
What you’ll need
A 25-foot tape measure, a small notepad, a pencil, and a flashlight. A torpedo level is a bonus. That’s it.
Step 1 — Measure the width (in three places)
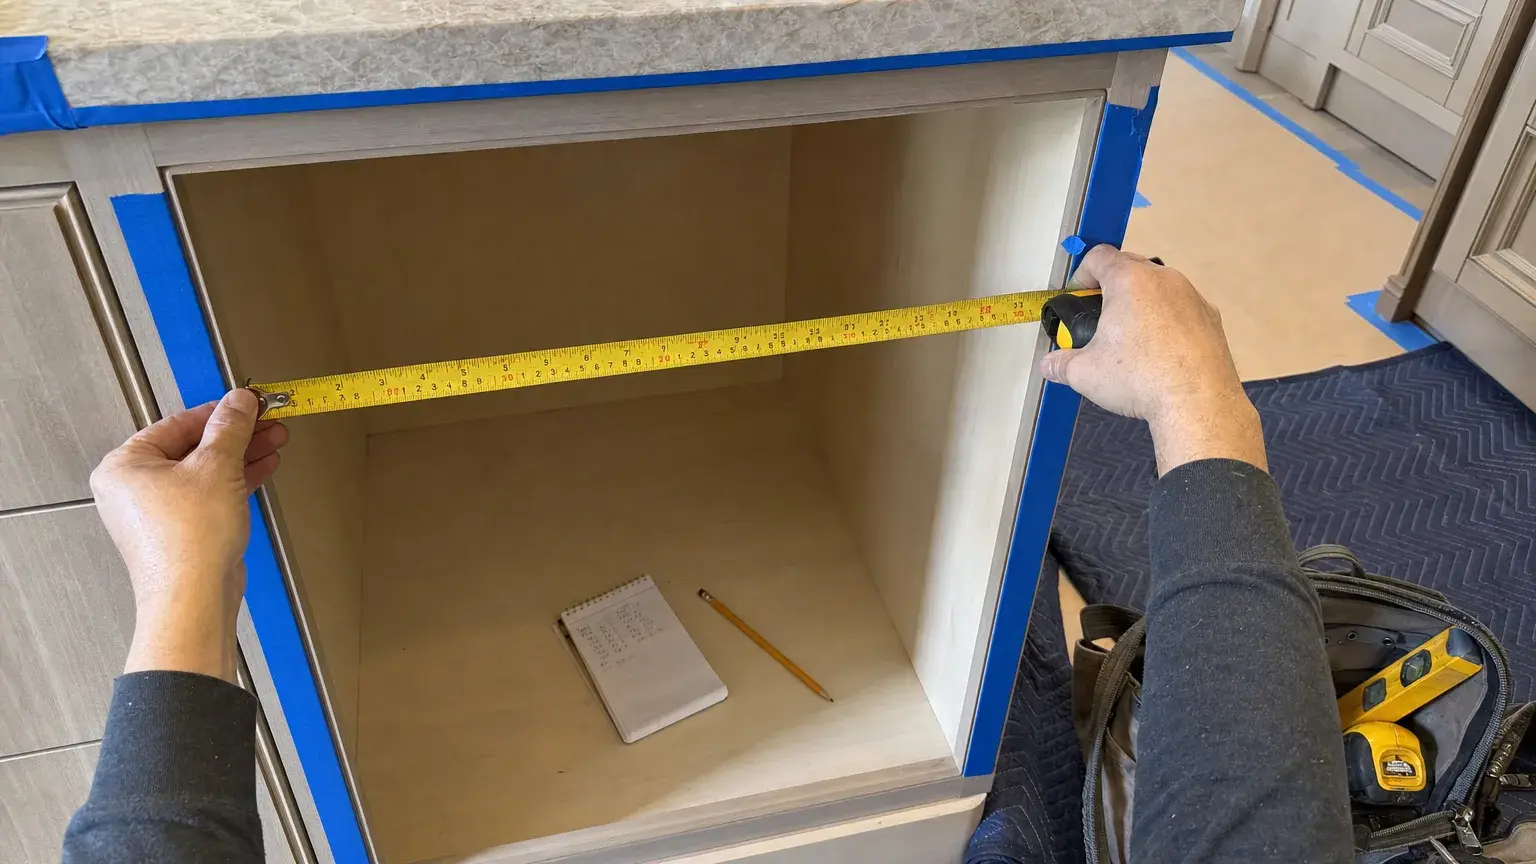
Measure the inside width of the opening — the clear space the appliance has to slide into — not the cabinet’s outside dimension and not the old appliance.
Measure the width at the top, middle, and bottom of the opening, and write down all three. Cabinets settle and face frames aren’t always parallel; the number that matters is the smallest of the three, because that’s the real bottleneck.
Tip: if a center stile or face-frame lip narrows the opening, measure to the part that actually sticks out the furthest. That edge is what the appliance hits first.
Step 2 — Measure the height
For under-counter appliances (dishwashers, microwave drawers, beverage units), measure from the finished floor to the underside of the countertop at the front of the opening. If your floor isn’t level — common in older homes — measure both sides and note the lower one.
For tall cabinets (wall ovens, built-in refrigerators), measure the full clear height of the cavity, and note where any fixed shelf, platform, or cleat sits.
Step 3 — Measure the depth
Measure from the back wall of the cavity (or the back of the cabinet) to the front edge of the opening. Then check what’s living in that depth: water lines, gas stub-outs, electrical boxes, and ductwork all eat into usable space and can push an appliance proud of the cabinet face.
Step 4 — Note the utilities and obstructions
Stand back and write down everything inside and around the opening:
- Power — standard outlet, 240V receptacle, or hardwired whip, and where it sits.
- Water & drain — supply valve and drain location for dishwashers and some refrigerators.
- Gas — stub-out location and whether it’s capped.
- Obstructions — a center stile, a fixed shelf, a glued-in filler, or a face-frame lip.
These are what decide whether an appliance simply drops in or needs the cabinet adjusted first.
Step 5 — Use the installation sheet, not the brochure
This is the step most people skip, and it’s the one that saves the project. Every appliance ships with two very different sets of numbers, and only one of them tells you whether it fits.
The brochure number — the dimension on the product page, the store listing, or the spec tab — is the size of the appliance itself: the width of the cabinet box, the height of the unit, the overall depth. That number is for comparing models on the showroom floor. It is not the number you measure your opening against, because it doesn’t account for the air gap, the hinges, the door swing, or the clearance the manufacturer requires around the body.
The number that matters lives in the installation sheet (sometimes called the installation manual, installation instructions, or “dimension guide”). Manufacturers publish it as a separate PDF, usually under a Manuals, Documents, or Support tab on the model’s page — not on the marketing page where the pretty photos are. Inside, look for a section labeled rough opening, cutout dimensions, or required cabinet opening. That’s a deliberately different figure: it’s the clear space the appliance needs to install and operate, with the recommended clearances already built in.
A few things to know when you read it:
- The cutout is almost always bigger than the unit. A dishwasher body might be 23-7/8 inches wide but call for a 24-inch opening. A built-in fridge can ask for an inch or more of total clearance across the width and a specific height to the top of the cavity. Don’t talk yourself into “close enough” — the gap is intentional.
- Width, height, and depth each have their own minimum. Read all three off the sheet, not just the one you’re worried about. Depth callouts in particular often include a note about clearance behind the unit for plumbing or the power cord.
- Watch for conditional notes. Many sheets list a different opening for a flush or counter-depth install, or add height if there’s a custom panel or toe-kick trim. The footnotes are where the real requirement hides.
- Confirm the sheet matches your exact model number. A half-step variant in the same family can carry a different cutout. Match the full model number, not just the product line.
Now compare the sheet’s required opening to your smallest measured numbers, with a little clearance to spare. If your opening meets or beats every cutout dimension, you’re in good shape. If it falls short — even by a fraction — that’s not a dead end. It usually means the cabinet needs a clean modification: trimming the opening to spec, removing a stile, or building a support platform.
When to call instead of guessing
If the numbers are tight, the floor is out of level, or there’s a stile or utility sitting in the way, get the opening measured and matched to the cutout sheet before you put money down. Call us with your model number and your three width readings, or request a measurement visit, and we’ll tell you whether the appliance drops straight in or the cabinet needs work first — while you can still pick a different unit or plan the modification on your own timeline.